
Home Blood Pressure Monitoring: Getting Readings You Can Actually Trust

Key Takeaways
Why home readings are worth doing correctly
Blood pressure measured at home over multiple sessions gives clinicians a richer dataset than any single office visit can provide. Clinic readings are vulnerable to the 'white coat effect,' where the unfamiliar environment causes a temporary spike. The opposite problem, masked hypertension, occurs when readings appear normal at a clinic but are consistently elevated at home. Both phenomena affect treatment decisions, and home monitoring is one of the most practical ways to detect them.
The value of home monitoring depends almost entirely on technique. A device used incorrectly can produce numbers that are 10 to 15 mmHg off in either direction, which is a clinically meaningful difference. If you are new to tracking your cardiovascular numbers, the beginner's guide to heart and blood pressure health explains the underlying concepts before you begin.
What you will need
What you will need before starting
Accurate home monitoring requires a few specific items. The most consequential choice is the monitor itself. Not all consumer devices are validated against clinical standards, and price does not reliably predict accuracy. Checking a recognized validation registry before purchasing removes most of the guesswork.
Validated upper-arm blood pressure monitor
Measures systolic and diastolic pressure automatically; upper-arm placement is more accurate than wrist devices for most adults.
Appropriately sized cuff
A cuff matched to your arm circumference ensures the inflatable bladder compresses the artery correctly; incorrect sizing skews results.
Reading log (paper or digital)
Records date, time, and both pressure values so patterns can be reviewed over days and weeks.
Timer or clock
Confirms the required five-minute rest period before measurement and helps maintain consistent daily timing.
Beyond equipment, consistency matters as much as any single tool. Preparing the same way before every measurement reduces the variability that makes logs hard to interpret.
Step-by-step measurement procedure
Follow these steps in order each time you measure. Skipping any of them, particularly the rest period and the multi-reading average, is the most common source of unreliable home data.
Choose the right device and cuff size
Select an upper-arm monitor that appears on a recognized validation list. These lists confirm the device has been tested against clinical-grade equipment and meets accuracy standards. Wrist monitors can work when used at heart level, but they are more sensitive to positioning errors, making upper-arm devices the standard recommendation for home use.
Measure your bare upper arm circumference at its midpoint and match it to the cuff size indicated in the monitor's documentation. A cuff that is too small inflates over too little tissue and produces a falsely high reading; one that is too large tends to underestimate.
Prepare your body before sitting down
Avoid caffeine, tobacco, and vigorous physical activity for at least 30 minutes before measuring. Empty your bladder, since bladder fullness can add several mmHg to your reading. If you have eaten a large meal, wait an hour.
Dress so your upper arm is bare or covered only by thin fabric. A thick sleeve rolled up tightly can act like a tourniquet and distort the reading.
Sit correctly for five minutes
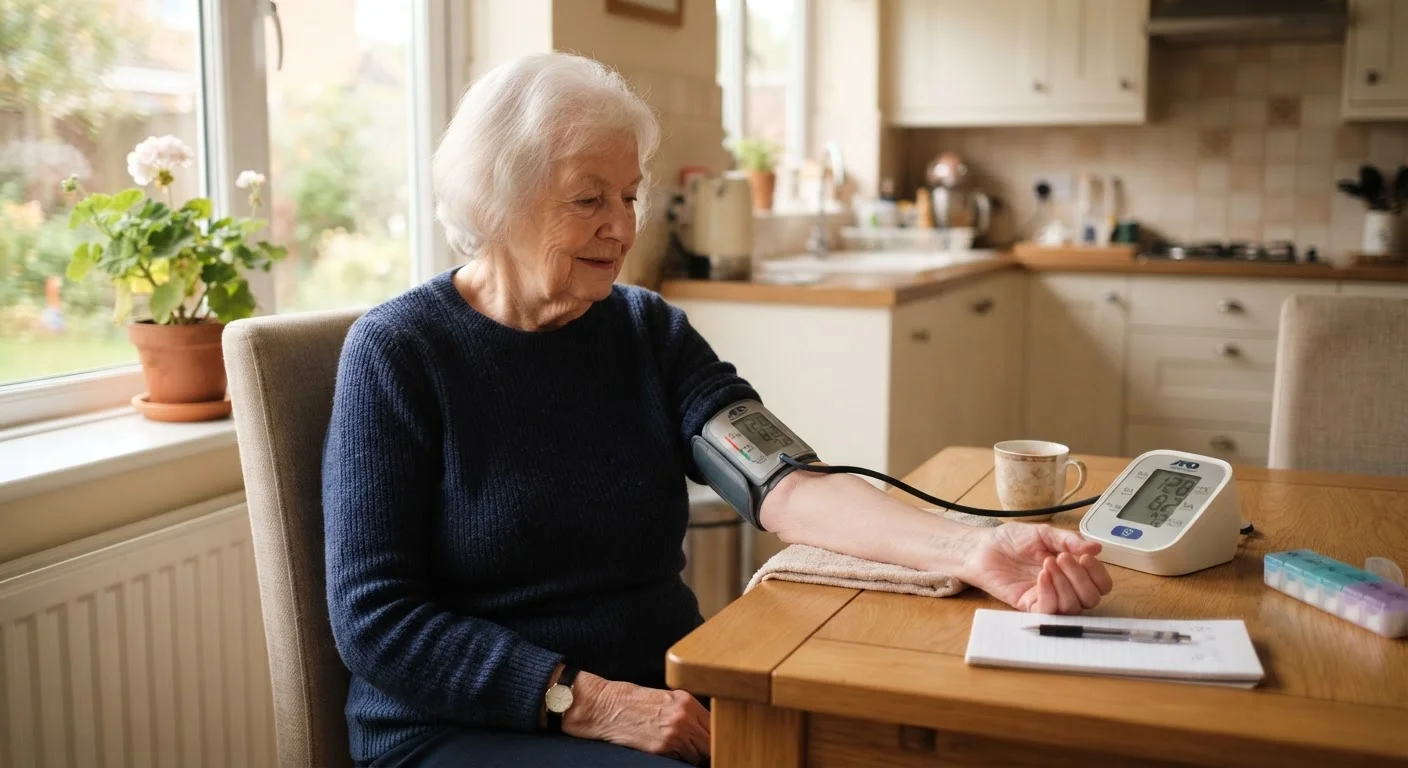
Sit in a chair with your back fully supported. Place both feet flat on the floor - do not cross your legs, as this compresses leg vessels and can raise systolic pressure by up to 8 mmHg. Rest your arm on the table so the cuff will sit at roughly the same level as your heart. Do not talk, check your phone, or watch stimulating content during this rest period.
Apply the cuff correctly
Place the cuff on your non-dominant arm unless your clinician has specified otherwise. Position the lower edge of the cuff about 2 to 3 centimeters (roughly one inch) above the bend of your elbow. The tubing or the marker labeled 'artery' should align over the inner arm, roughly above the brachial artery.
Tighten the cuff so it fits snugly but you can still slide two fingers under it. A loose cuff inflates unevenly and produces unreliable numbers.
Take two to three readings and record all of them
Start the monitor and remain still and silent during inflation and deflation. After the first reading, wait one to two minutes, then take a second. A third reading is optional but useful if the first two differ by more than 5 mmHg. Record all values with the date and time.
For the number you report to your clinician, use the average of the second and third readings rather than the first. The first reading is often the highest due to residual alerting response.
Interpret your log in context
A single reading above or below a threshold means little on its own. Blood pressure fluctuates throughout the day in response to activity, hydration, posture, and even conversation. What matters to your clinician is the pattern across multiple sessions over days or weeks.
The American Heart Association generally considers home readings averaging below 130/80 mmHg as within a normal range for most adults, but individual targets vary based on age, existing conditions, and medications. Share your full log with your healthcare provider rather than selecting only the readings that look favorable. For broader context on how readings shift across life stages, see how blood pressure changes across the lifespan.
Home monitoring does not replace clinical care
Home blood pressure data is a useful supplement to professional assessment, not a substitute for it. If your readings are consistently above 140/90 mmHg, or if you experience symptoms such as severe headache, chest pain, or vision changes, contact a healthcare professional promptly. Do not adjust or stop any prescribed medication based on home readings alone.
Certain everyday habits can push readings higher without obvious symptoms. The lifestyle factors that affect blood pressure quietly are worth reviewing alongside your monitoring routine.
Log your readings every time
A written or digital log with the date, time, and both numbers (systolic and diastolic) is far more useful to your doctor than a single memorable reading. Many validated monitors include a memory function or companion app. Bring the log, or the device itself, to your next appointment so your clinician can interpret the pattern in context.
Common errors and how they change your numbers
Most measurement errors inflate readings rather than deflate them, which means poor technique is more likely to prompt unnecessary worry or treatment escalation than to provide false reassurance.
- Crossing the legs during measurement: adds up to 8 mmHg systolic.
- Cuff placed over thick clothing: adds 5 to 50 mmHg depending on fabric thickness.
- Arm held below heart level: adds approximately 2 mmHg for each centimeter below heart height.
- Talking during measurement: adds 10 to 15 mmHg systolic.
- Measuring immediately after caffeine or exercise: adds a variable but potentially large transient spike.
Correcting these behaviors before each session is often enough to bring readings into a range that accurately reflects actual cardiovascular status. For a broader look at misconceptions that affect how people interpret their numbers, see common myths about high blood pressure.