

Key Takeaways
Why self-massage works for foot pain
The foot contains 26 bones, 33 joints, and more than 100 muscles, tendons, and ligaments. That density of tissue means tension in one area transfers quickly to neighboring structures. Manual pressure applied to soft tissue temporarily increases local blood flow, reduces muscle tone, and stimulates mechanoreceptors that compete with pain signals traveling to the brain. None of these effects are permanent, but they are real and repeatable, which is why consistent practice matters more than occasional intensive sessions.
If you are unsure what is behind your discomfort, this overview of common foot pain causes explains how conditions such as plantar fasciitis and nerve compression present differently and affect daily movement. Understanding the source helps you apply the right technique and pressure level.
Self-massage fits naturally into a broader foot care framework. The foundational foot health guide outlines stretching, footwear habits, and warning signs that complement the hands-on work described here.
What you need before you start
What you will need
Choose a position that lets you reach your foot comfortably. Sitting on a firm chair and crossing one foot over the opposite knee works for most people. A towel across your lap keeps lotion off clothing. Wash and dry your feet before starting; clean skin gives better feedback through your fingertips and reduces infection risk if skin is broken.
Unscented lotion or massage oil
Reduces friction between hands and skin, allowing sustained pressure without irritation.
Firm chair or stool
Provides a stable base for crossing one foot over the opposite knee throughout the routine.
Tennis ball or firm foam roller
Allows body-weight plantar pressure without hand fatigue, useful for the arch and heel.
Warm water basin
A five-minute soak before massage softens tissue and makes compression techniques more comfortable.
Step-by-step massage routine
Work through the steps below in order. Each zone builds on the previous one: warming the whole foot first makes deeper work on the arch and heel more comfortable and effective.
Warm the whole foot with effleurage strokes
Apply a small amount of lotion to both palms. Using your whole hand, stroke from the base of the toes toward the ankle with moderate, even pressure. Complete eight to ten strokes on the top of the foot, then the same number along the sole. This increases surface circulation and softens the tissue before deeper techniques are applied.
Work the arch with thumb circles
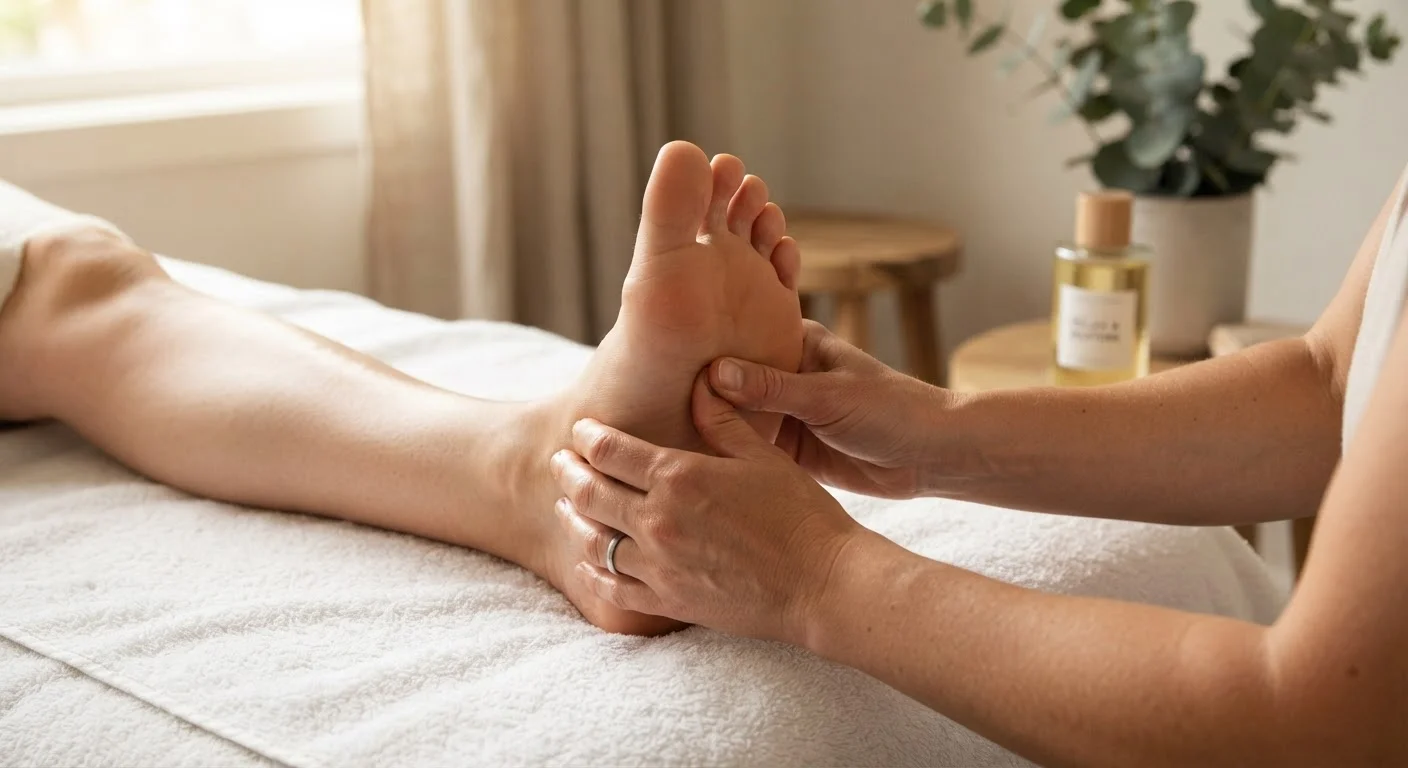
Place both thumbs side by side on the center of the arch. Apply firm downward pressure and draw small overlapping circles moving from the ball of the foot toward the heel. Spend 60 to 90 seconds here. The plantar fascia runs along this zone; sustained, controlled pressure along its length can reduce the morning stiffness associated with plantar fasciitis.
Release the heel pad with sustained compression
Cup the heel in both hands so that both thumbs rest on the pad beneath the heel bone. Apply steady, compressive pressure for 20 to 30 seconds, release, and repeat three times. Follow with small thumb circles around the perimeter of the heel pad. The fat pad here absorbs ground impact; addressing it directly eases the referred tension that travels up the Achilles tendon.
Mobilize each toe joint
Hold the foot stable at the ankle with one hand. With the other hand, grasp the base of the big toe between your thumb and index finger. Gently rotate the toe in small circles, five clockwise and five counterclockwise, then apply a slow, steady traction pull for three seconds. Repeat on each toe in sequence. This addresses the metatarsophalangeal joints, which stiffen after prolonged time in narrow footwear.
Compress the ball of the foot
Place your thumbs on the sole just behind the toes and your fingers across the top of the foot. Squeeze gently, hold three seconds, release, and shift one finger-width toward the arch. Work across the entire width of the forefoot in three or four positions. The metatarsal heads cluster here and bear heavy load during walking; direct compression reduces the localized tension that builds through the day.
Finish with long effleurage strokes
Repeat the same full-hand strokes used in Step 1, this time with slightly lighter pressure. Work from toes to ankle for 60 seconds. This closing pass moves dispersed fluid toward the lymphatic drainage points at the ankle and lower leg, and signals the nervous system to shift out of the active compression phase.
After completing both feet, rest for five minutes before standing. Circulation shifts during massage and standing abruptly can cause brief light-headedness in some people.
Pairing this routine with structured foot and ankle stretches maintains the range of motion gained and extends relief through the day.
Circulation, pressure, and when to stop
Foot massage mildly stimulates superficial circulation. For a deeper look at what compromised blood flow actually feels like and why it matters, see the circulation and foot health article.
Pressure that produces a dull, releasing ache is generally appropriate. Sharp, shooting, or radiating pain means you have exceeded safe pressure for that tissue. Reduce force immediately. Tingling that does not resolve within a few seconds, skin color changes, or swelling that worsens after massage warrants evaluation by a healthcare provider rather than continued self-treatment.
Some habits marketed as foot care can worsen pain over time. This article on counterproductive foot care habits covers patterns worth avoiding, including overly aggressive rolling and tight strapping techniques that restrict normal tissue movement.
To keep massage as one part of a complete routine, the daily foot care audit checklist gives a structured way to review your habits and spot gaps.
This article is for informational purposes only and is not medical advice. Always consult a qualified healthcare professional before beginning any new self-care practice, particularly if you have diabetes, peripheral vascular disease, neuropathy, or any condition affecting foot sensation or healing.